
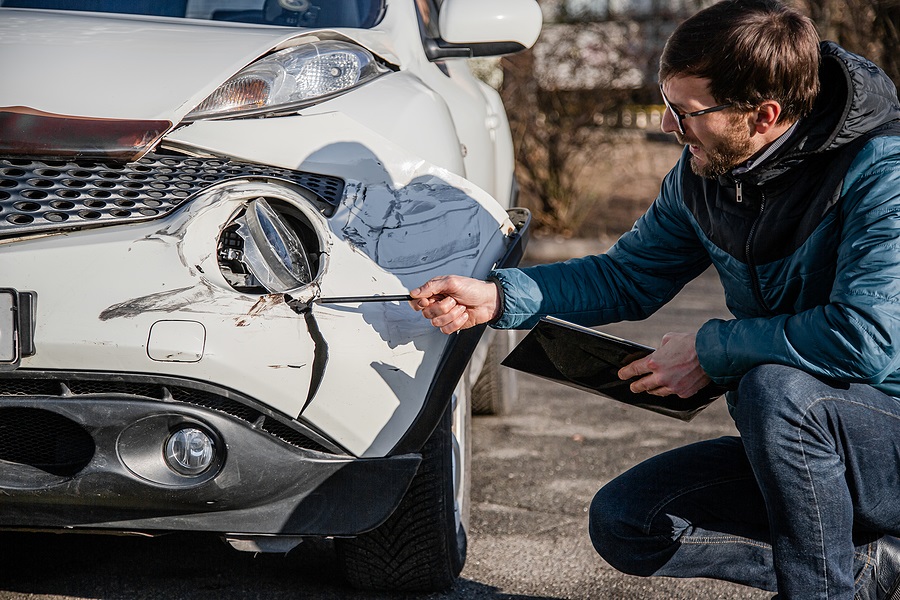
Having made sure how your damage looks, you can then identify the very best route of action for fixing your bumper using mobile bumper repair mesa az. To buy one, you can check the bumper repair kits review.
- Scruffs as well as scrapes over the bumper: You can repair it from the front
- Split as well as cracks on the bumper: You can repair it from the front as well as the back
All work ought to be accomplished in a dry, clean setting. Also, make certain that you take your time with the process to avoid a bad coating.
Fixing the back of the bumper:
- Begin with eliminating your bumper. Locate small screws surrounding the wheel wells, the lights, and around the boot as well as the bonnet edge.
- Before starting any job, the bumper should be extensively cleaned, both inside and out, with solvent wipes that are typically provided with the set. If even a bit of grease stays, the filler is going to fail to bond correctly as well as this can destroy the appearance of the fixing.
- Analyze the damaged space carefully. When any plastic shards are sticking up, then these will need to be gotten rid of with a knife or blade.
- As soon as eliminated, sand the location with 80 grit sandpaper as well as eliminate any prominent sharp edges. The surface you’re searching for is a rough surface; this will assist with offering the filler something for bonding. Make sure all the dust are wiped away using a damp towel.
- For split or cracked bumpers, queue up both sides till they are level, then secure in place with solid masking tape on the front side.
- The repair work will then need to be done on the back. If your package featured a solution for aiding the filler to get bonded with the plastic, you could use this currently as well as allow it dry.
- Make use of the plastic filler material and start spreading throughout the fractured area on the bumper as well as beyond. The filler fasts drying out, so you may require to work a little faster here.
- Currently, lower the bonding mesh and also cut it to dimension; however, leave one inch past all sides of the damages. After that, meticulously affix the mesh on the damage for pinning crack’s both sides in place.
- Take the plastic filler product again, as well as use a general layer on the mesh to guarantee it is entirely covered. Smooth it out and afterward leave the filler to solidify for the specified time on the pack.
Why Automotive Manufacturers Continue Investing in Better Car Shock Absorbers
Vehicles require stability during every single journey. Automotive engineers constantly seek new suspension improvements. The driving public demands extreme cabin comfort now. Therefore, top manufacturers prioritize advanced dampening systems heavily. Rough roads present constant challenges for modern vehicles. The Auto repair in Clearwater, FL based...